Showing posts with label kid crafts. Show all posts

Tuesday, July 26, 2016

Spongebob softies by Thing 2


Summer making has been in full swing recently for my youngest daughter. She's 12. I'm in awe of her creative drive. Once she gets an idea in her head she powers forward and it's amazing how fast she designs and makes these softies.


This is the first Plankton she made. He is now MIA. I suspect the vacuum cleaner might know something.


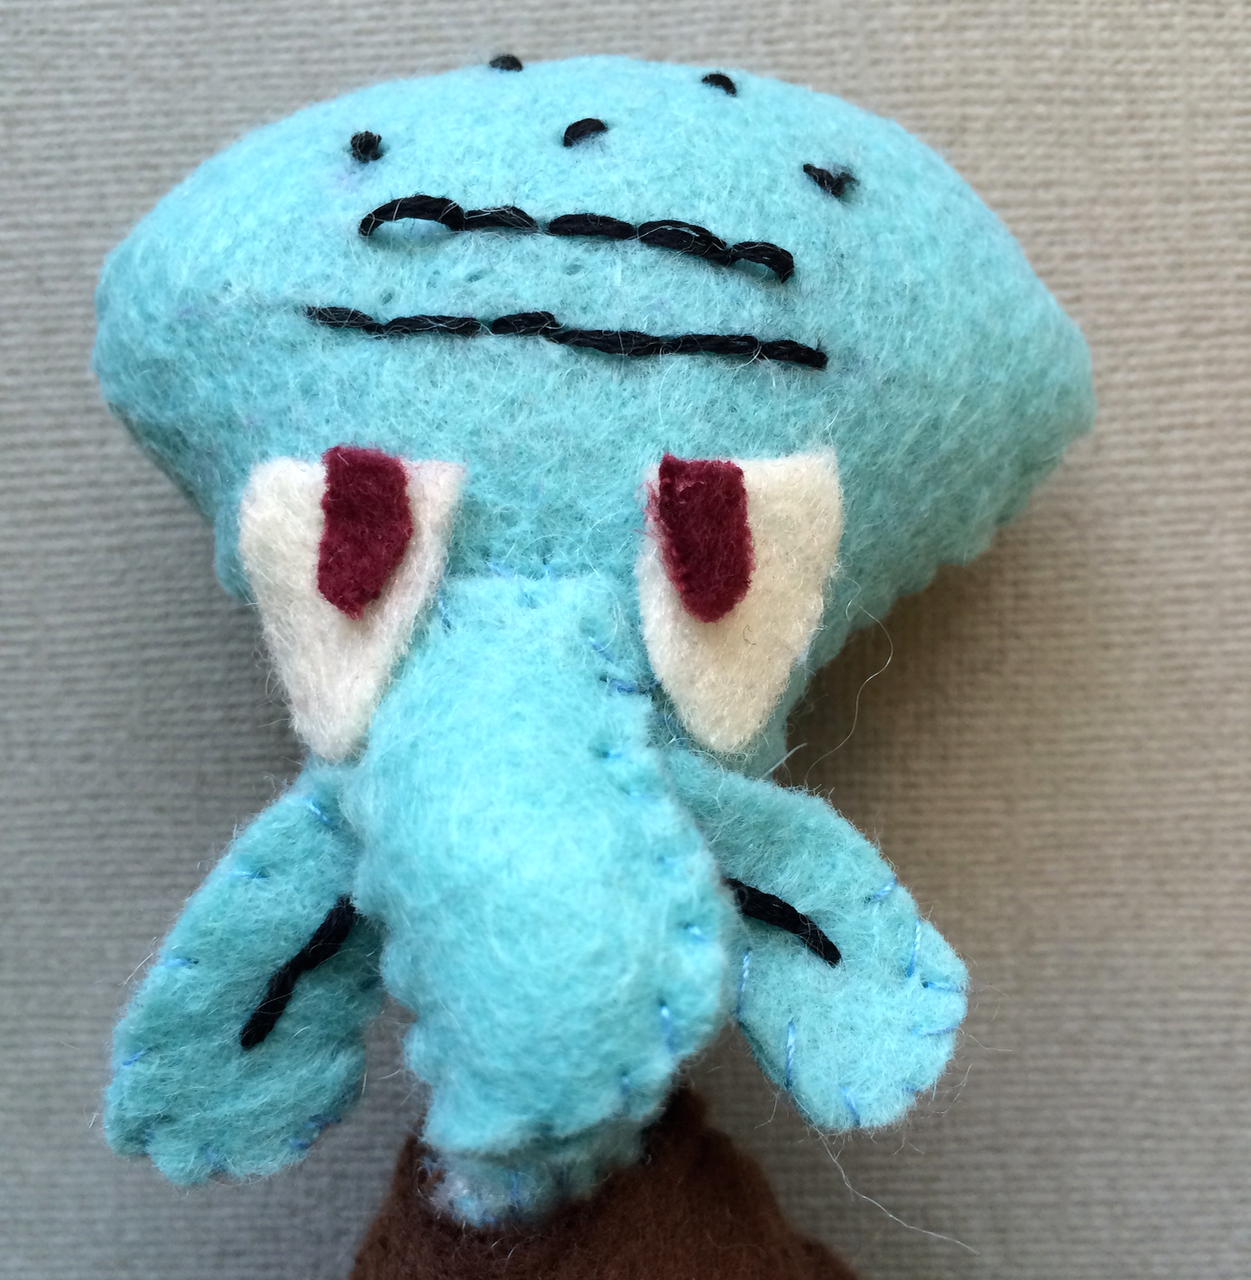
She hand sewed them from felt, fleece, embroidery floss, and pipe cleaners. She just makes up her own patterns.


I despair of her craft organization skills though. She never keeps her patterns or supplies in any kind of order and the OCD portion of my brain goes into a tailspin as I'm constantly finding tiny pattern pieces on the carpet, her seam ripper in the couch cushions, her needles laying on the kitchen counter and fretting to myself 'this is an important piece, she is going to lose it'.


(Look at Mr Krab's nose!)

It doesn't seem to bother her at all to lose pattern pieces or parts. At least not enough to mend her ways. She just whips out another one. She's kind of like a crafting version of Pigpen. Only instead of a cloud of dirt around her it's a tangle of floss ends and bits of stuffing and tiny scraps of felt. She literally leaves a trail through the house.

(In fairness I have to add this is exactly why I was banned from the house as a preteen by my long suffering mother. She finally got smart and set up a crafting studio for me in our garage to save our living room carpet. So right now she's probably nodding and saying something like 'yes, it's exasperating, isn't it, dearest?' followed by the lighthearted chuckle of someone who no longer lives with Pigpen Sr.)


And lastly, some accessories to go with the softies: a spatula for Spongebob, a ray gun for Plankton (slightly angrier version 2.0 seen here), and of course Patrick's secret box that contains a picture of Spongebob at the office Christmas party.


A portrait of the artist with her big sister in the background there. I was looking at her earlier versions of Spongebob softies and she's come pretty far in three years.

I hope you are having some summer crafting fun! We are cherishing the days. How can it be almost August?

Sunday, August 4, 2013

simple pom-pom marionettes


What do you do when you are nine and ten and have a bagful of dollar store pom-poms and googly eyes? You make pony marionettes. All morning.


A whole loudly colored herd.


You congratulate yourself when you add wooden beads for the feet, because they make a fun clickety click sound on hard floors.


You learn that what you don't do is lay them down! Their threads can get mighty tangled. You hang them instead on drawer knobs and hooks when you are done playing.

Oh! You are nine? And you are also going to make some? Here's what you'll do:

1) Use Fabri-Tac with your mom's supervision to glue colorful pom-poms together to make your favorite four legged animal. "Yes," you will tell your mother, "it would be nicer to sew them together instead of gluing them, but I don't have time for that because I want to play." See below for a suggested schematic. (When you are running out of pom-poms it's OK to improvise.)


2) You'll add googly eyes and a pipe cleaner tail with more glue because it's cute. You'll pick up really big googly eyes from the box and use them as monocles because it is wildly funny.

3) You'll glue plastic or wood beads on for feet, so they clickety click.

4) You'll thread a needle with a long piece of quilting thread and tie a big knot in one end. Then you'll do brain surgery on the marionette's head starting at the bottom, so that there is a thread coming out the top. Now you'll do the same for its tushy tush.

5) You will remember not to leave the needle on the table. You will put it back in the needle cushion so it doesn't fall on the carpet and wait for your mother's foot to come visit. 

6) You'll wrap the ends of the threads several times around opposite ends of a popsicle stick and secure them with more glue.

7) You'll clickety click with your new marionettes all around the kitchen.

8) Then you'll make more until almost the whole bag of pom-poms is gone because it is still summer and you can do that!

Friday, January 11, 2013

Thing 1's woodland critters

This is Stitches.

 This is Buttons.

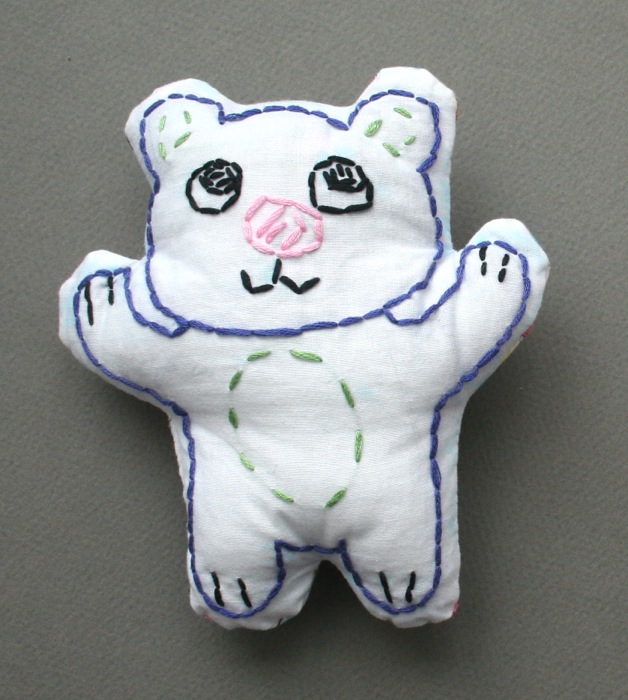
My 10 year old created these two softies using the embroidery book and sewing kit gifted to her by Miss Robyn and of course I must feature them too.

I invited Thing 1 to write this post also, but she became very quiet as I sat expectantly with fingers poised above the keys. Then she suggested no text, just pictures. Too much pressure.


Here are the backs. Thank you again to Beth for the very appropriate Stampin' Up fat quarter she used for Buttons. She zeroed right in on it.


Her preliminary sketch. She informed me these two are the first of five softies in a series she has designed, dubbed 'Woodland Critters'. How 'bout that.

I had to be all casual and smooth about it, because if I get excited or too involved it kills it for her. I don't want to be the crafting equivalent of a stage mommy: "Put down that silly book! Have you practiced your french knots today? You KNOW the Mother Daughter Pan Gran Embroidery Regionals are coming up! SMILE as you thread and no squinting! SMILE! Show me the sparkle!"

Wednesday, January 9, 2013

Thing 2's spongebob in felt

 Spongebob

 
 Sandy Cheeks

 Mr Krabs

 Karen

Plankton

 Patrick

The whole gang.

Made by the eight year old during Christmas break. It was a surprise attack by her creative muse. She'd been pining for a set of Spongebob beanies for Christmas, then she just decided suddenly that she wanted to make them instead of waiting. So she just did it.

Spongebob was first. I made a few suggestions and helped her sew a couple of things and showed her how to stuff him. Then she decided that the whole sewing thing was just slowing her down, so she disappeared with a tray of felt, scissors and glue and made the rest of them.

Then she asked me to feature them on my blog. Heck yeah, I'll do that.

 Mr Krabs' nose

I find it very refreshing that for her there was no planning or tracing or pattern making. She just cut them all out freehand and slapped them together and then very happily played with them after they were done. Total focus, quick follow-through and then satisfaction in her project.

Mommy could learn a thing or two from that.

Sunday, June 24, 2012

make a Puppy Ears card (Craft Camp)


This is a reprint of a guest tutorial I did for Skip To My Lou's Craft Camp. Enjoy!

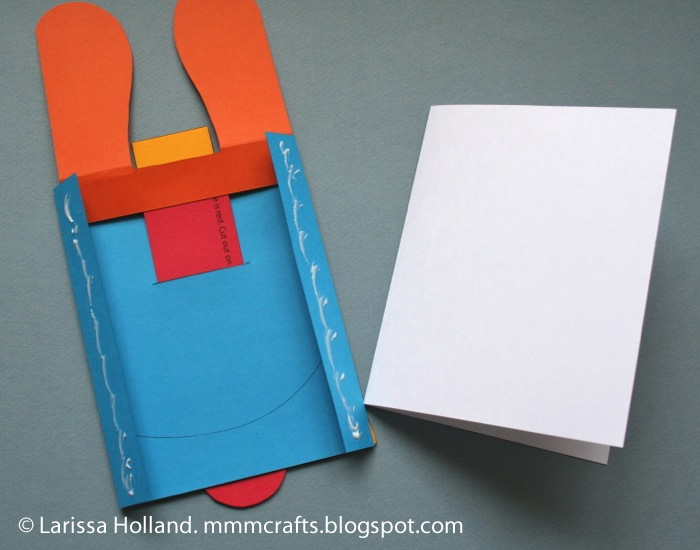
Hey, Craft Campers! I'm Larissa Holland of mmmcrafts and I'm glad to be a summer craft counselor again this year. Enjoy my earlier Craft Camp paper projects here and here. This year we will make a silly, flappity-eared puppy card that has a tongue pull tab! It's just the thing to make to say Hi to friends you miss, or just give to someone who could use some puppy love. Are you ready?

First things first. Gather your materials! You need:
  • Letter sized sheets of white, blue, yellow, orange and red card stock
  • Scraps of white and black paper
  • Tacky Glue
  • Scissors and/or craft knife (Remember the craft knife is sharp! Be careful!)
  • Circle punches in 1 inch and 5/8 inch sizes
  • Ruler
  • This PDF template
  • Printer


Get Started:

1) Download the PDF template, open it, and follow the directions on the template to print on your card stock.

2) Score and cut out all the pieces as directed on the template. "Scoring" is simply making a dent in the paper so it folds easily. I use a ruler and the back of my craft knife* (not the sharp side) to score. You can also use a regular ol' table knife (the kind you use to spread butter on bread) to score the folds. Keep the extra uncut pieces to make a card in opposite colors later!
*Get a grown-up involved if you are using a craft knife. It's sharp!

3)  Cut the white piece of card stock in half so that you have two pieces that are 5.5 x 8.5 inches. Fold them in half. You'll use one for this card and have an extra to make another card later. 
 

4) Glue the tongue to the ear piece. Note the writing is facing up on the ears and facing down on the tongue.

  
5) Glue the semicircle to the bottom of the blue piece, flush with the bottom edge. Note the text is face down on both pieces.


6) Feed the tongue through the slit from the back.


7) Put glue only on the top and sides of the text side of the head and center it flush against the top edge of the blue.


8) Punch two white 1 inch circles and two black 5/8 inch circles. Make eyes by gluing the black onto the white. Then glue the completed eyes on, being sure they are in a spot that is hidden by the ears when they are folded down.


9) Use a template piece to trace a nose on black paper with pencil. Cut it out and glue to the face.


10) Fold over the blue side flaps toward the back and crease them well.


11) Add glue to the back side of each flap, then attach it to the front of the card you made in step 3. It's easier for me to add the card to the back of the puppy instead of the other way round, but be sure you have the card opening on the correct side.


12) Open the card and fold over the yellow flap between the ears and glue it to the inside cover of the card.


13) Test the ear action! Pull the tongue down and watch the ears flip up! Push the tongue back inside and the ears can fold back down.


14) Using a gel pen or thin magic marker (not a permanent marker - those may bleed through your paper), add the word "PULL" to the lower part of the tongue that shows when the ears are laying down. Add a message to the inside of the ears if you like, for example:
Hi There!
Miss You!
Happy Birthday! 
or 
Whoa, Nellie!


Tada! Your Puppy Ears card is now finished! Write a note on the inside of the card and send some silly puppy love in the mail. This card fits in a 5 x 7 inch envelope.

Please enjoy this template and tutorial for your personal use! Commercial use is not allowed. Please don't pin or post any in-progress shots, or repaste my text. Feel free to pin or post the finished card with a credit and a link back. Thanks!

Wednesday, October 19, 2011

easy autumn leaf craft


My girls and I got out the red, yellow, brown and orange construction paper the other day and made some largish falling leaves to go around our kitchen. It's easy as pie (Wait, pie can be hard. Who started this saying?). It's as easy as falling off a log (wait, maybe it is a bit harder than that). Ok, I'll let my southern roots show: It's as easy as all get-out, and fun to vary the shapes of the leaves. Good scissors practice too.


I brought out my small hole punches at some point and suggested they make a couple of tiny holes in some of the leaves to make it seem more realistic. I left the room for a moment and when I came back it looked like the leaves had been sent to the front lines and the enemy had a Gatling Gun. Oh well. Go with the flow. They had fun.


We are really enjoying having the (holey) falling leaves inside, since there aren't that many outside yet. We taped some on our china cabinet and hung some from the doorway with thread. They twirl around on any stray puff of air.

I recommend you make some with your kids and festoon the house with them:

1) Fold a sheet of construction paper in half, longwise. 


2) Draw a simple arc shape. You can also do pointy and curvy ones. Vary the sizes.


3) Cut along your lines.

 
4) Unfold and draw on leaf veins. Or bugs. Or a unicorn (this was my youngest's suggestion). 


5) If desired, use a small hole punch to accent your leaves with a FEW, artful tiny holes along the edges.

6) Make many. Dangle them from doorways by taping several to a long piece of thread, and use low-tack painter's tape to stick them to various things, including your children.