Showing posts with label 12 Days. Show all posts

Tuesday, March 5, 2024

make Easter ornaments from Twelve Days ornaments!


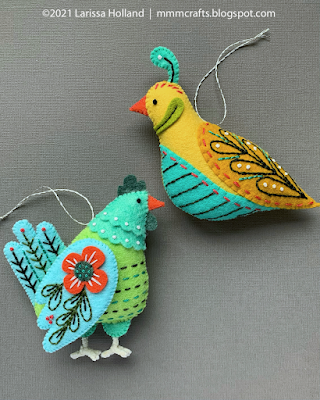
Don't forget some of your Twelve Days Christmas ornament patterns pull double duty as pretty Easter ornaments! Choose lovely spring colors for French Hen, Colly Bird, or Goose a-Laying and Bob's your uncle. 

To buy the patterns visit mmmcrafts.etsy.com

Thursday, February 1, 2024

bluebird of happiness


Why wait for the elusive bluebird of happiness to make an appearance when you can make one of your own?

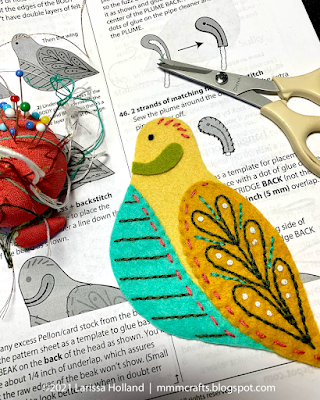
Pattern: Colly Bird from my shop, mmmcrafts.etsy.com
Felt: Felt On The Fly Sapphire color palette
Color guide w DMC floss numbers:
https://mmmcrafts.blogspot.com/p/fotf.html

Monday, January 8, 2024

top nine 2023


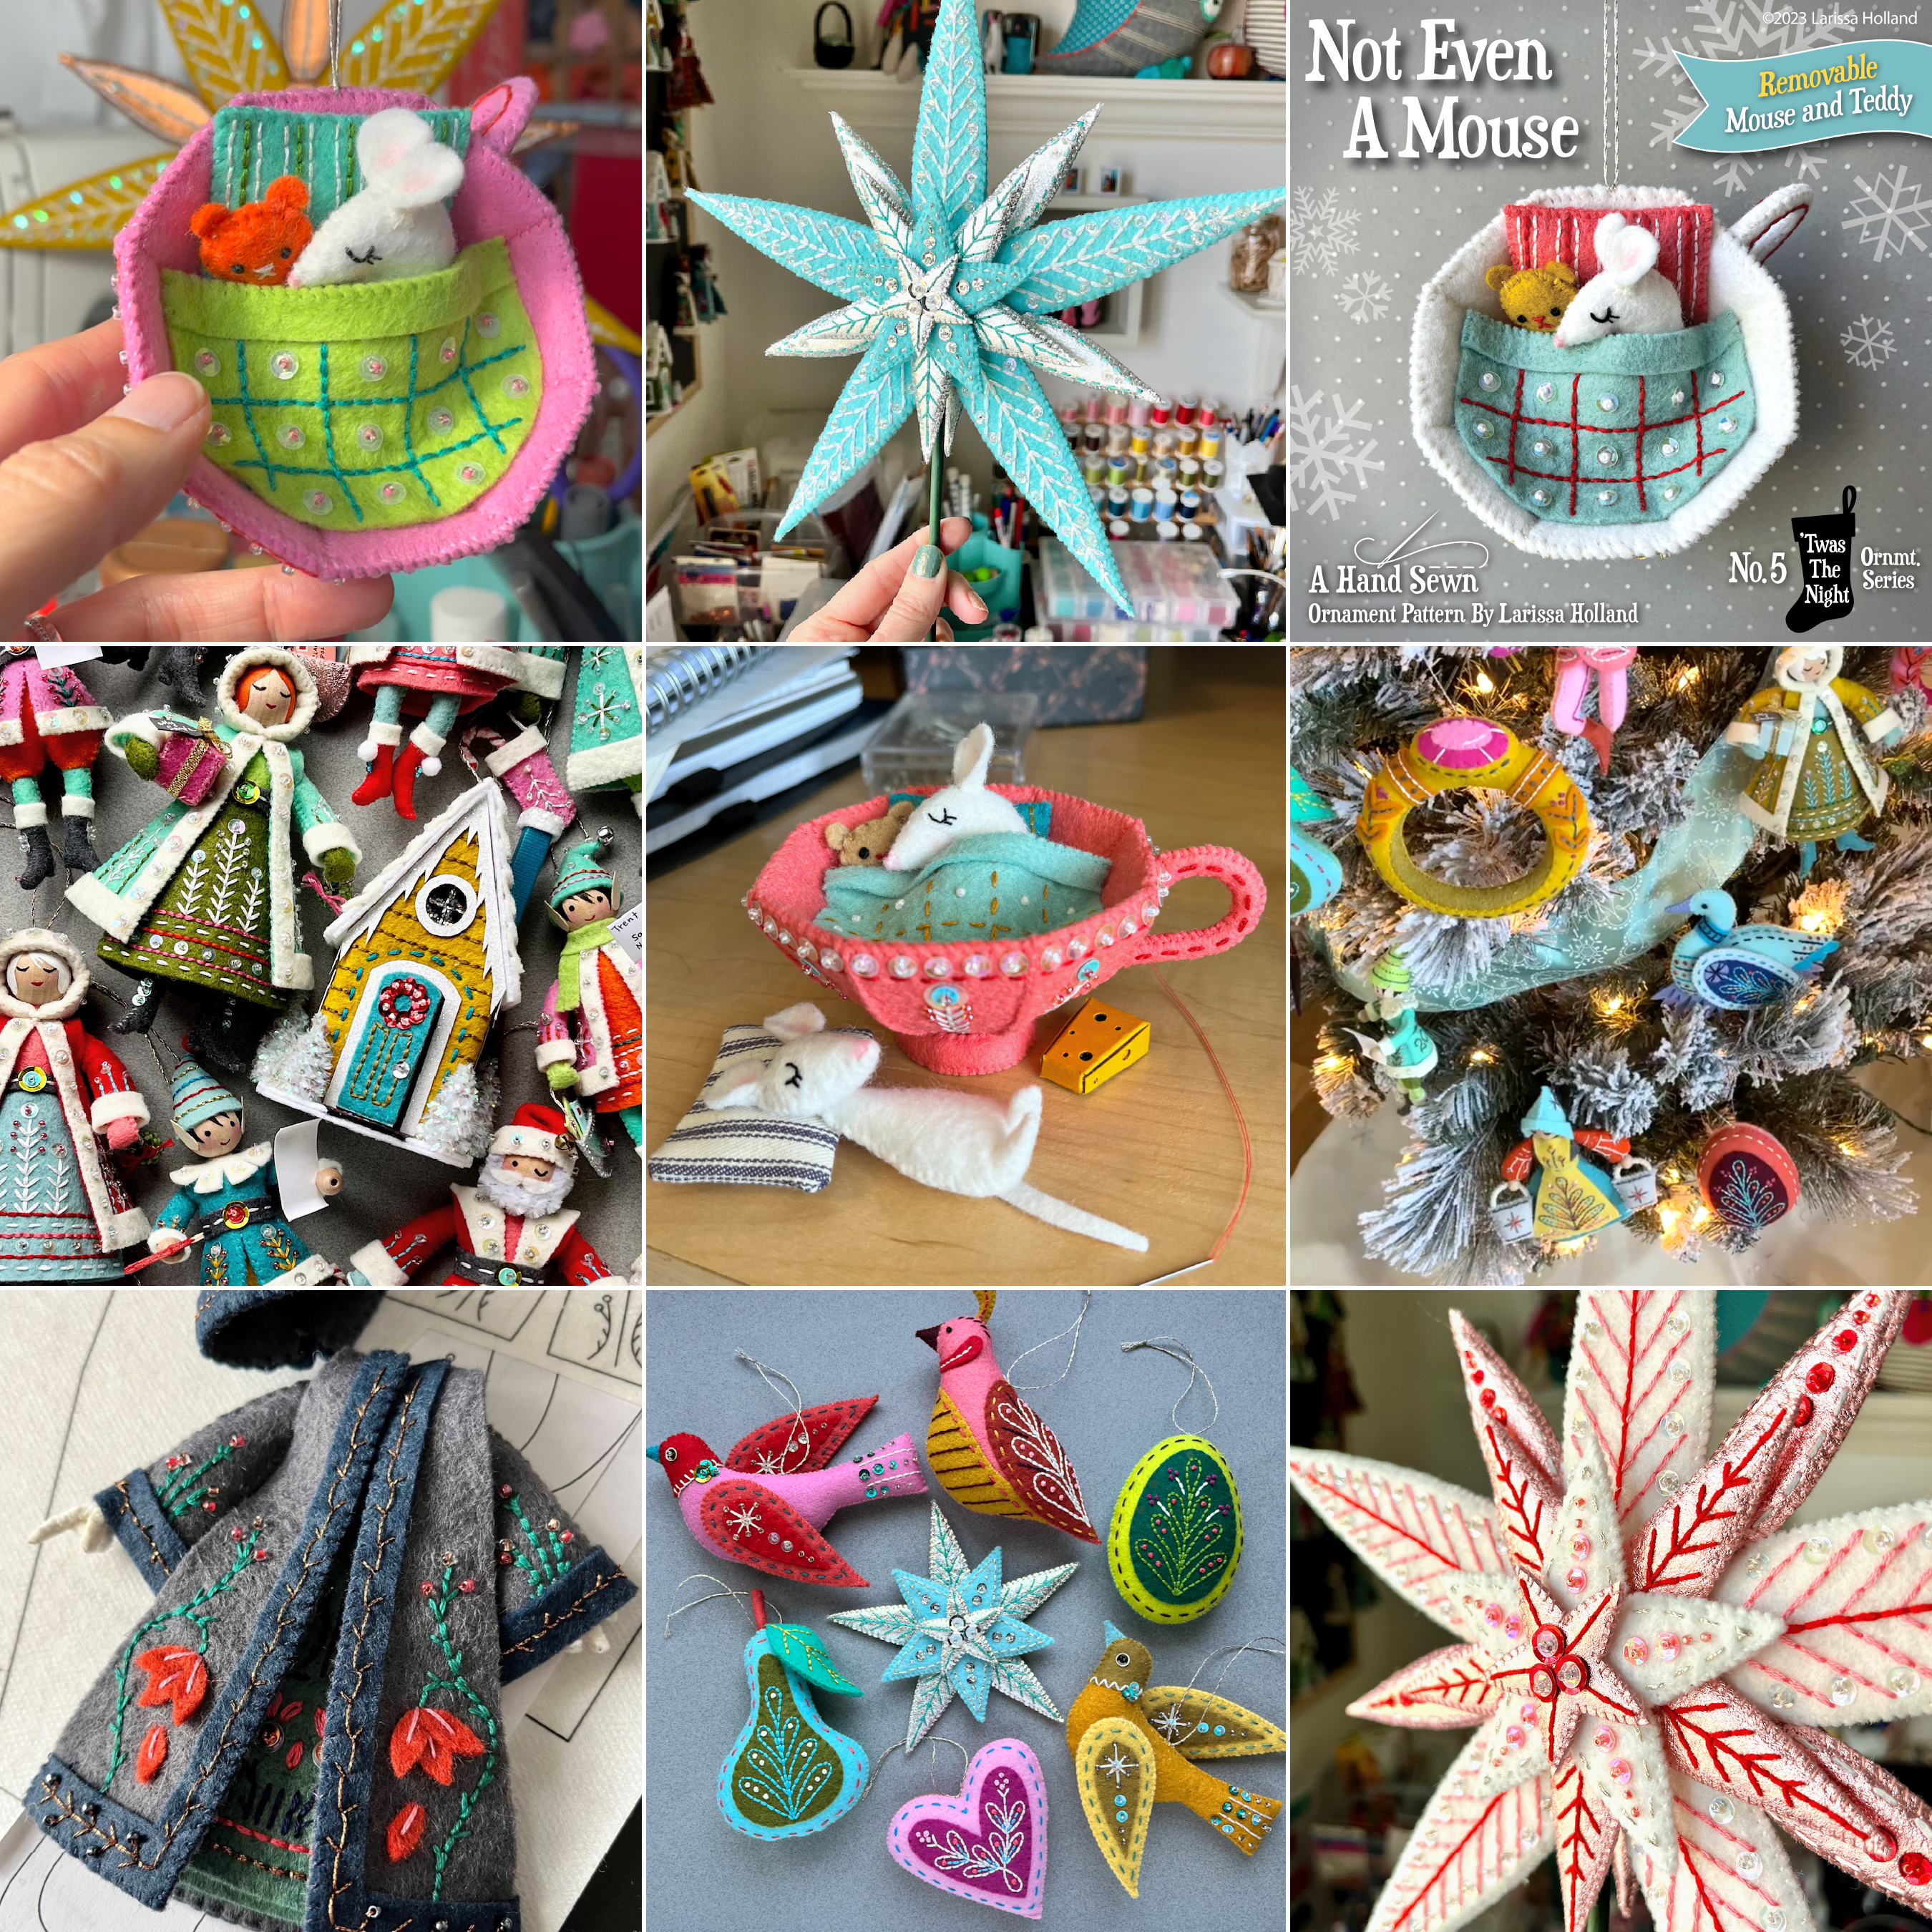
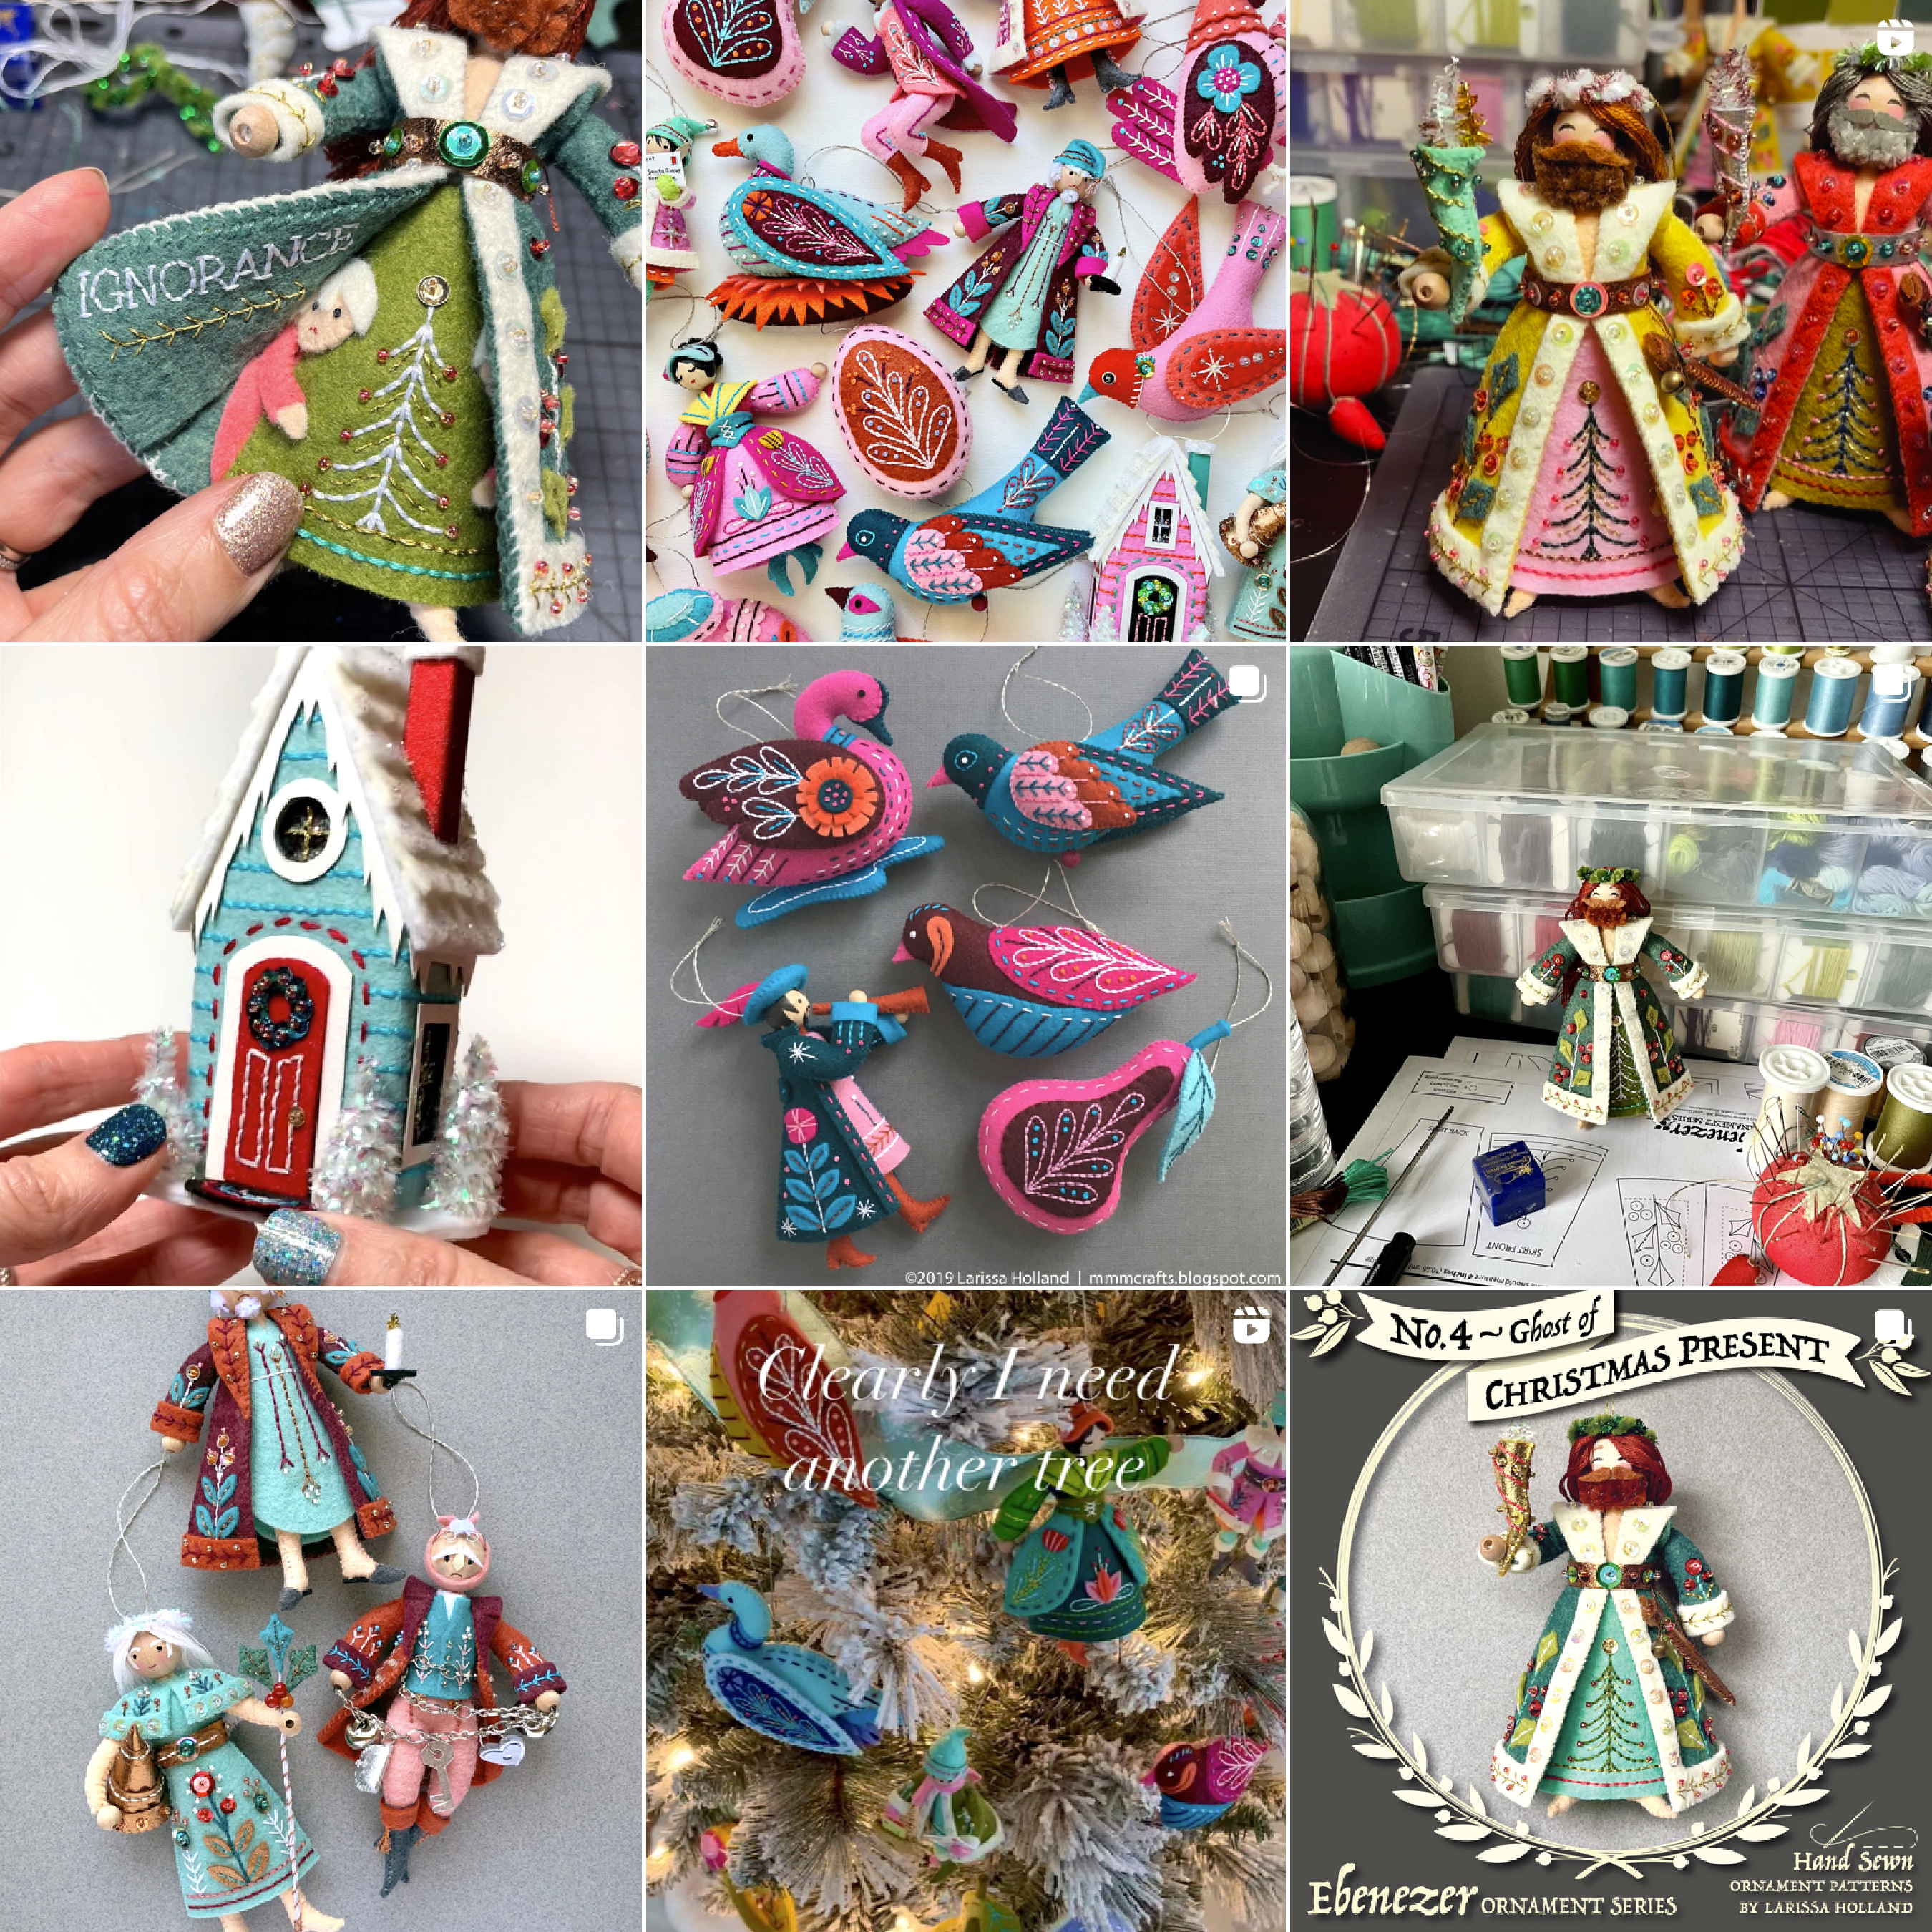
A little late to the new year party thanks to the flu virus, but here are my #topnine posts from 2023, as far as IG likes go. It was a very creative year for me, and that is exactly how I like it. I'm looking forward to more new designs in 2024, and I hear you that more beginner-friendly designs would be welcome. That's on my list. Also on my list is finally kicking this residual cough. Gah! I hope you guys are having an awesome (crafty) January. 

Sunday, November 19, 2023

some beginner friendly ornaments


Here are some of the more beginner-friendly ornament patterns in my shop. Each one can be hand-sewn by a confident beginner in one or two crafternoons and would make charming handmade gifts:

1) True Love Heart (included in the Lord a-Leaping pattern)
2) Snow Bird
3) LodeStar ornament (Included in the LodeStar Tree Topper pattern)
4) Goose Egg (Included in the Goose a-Laying pattern)
5) Partridge & Pear

If you like to use freezer paper for pattern transfer, choose Snow Bird. If you love the ease of using Sulky Stick ’n Stitch, choose any of the others shown here.

NOTE:
The heart, star, and egg are bonuses/variations included in more advanced patterns and detailed instructions are provided.

SKILLS NEEDED: hand sewing, hand embroidery, cutting pieces with precision, glueing stuff, printing stuff, and enjoying coffee. That last thing is optional but recommended.

To buy the patterns: mmmcrafts.etsy.com
Shown: lovely wool felts by @benziedesign and @feltonthefly

Monday, October 23, 2023

Minor update on Gold Ring instructions

Hey lovely mmmakers! I have updated step 28 of the Gold Ring pattern to help clarify the pieces you are sewing together there. Several have contacted me over the years scratching their heads about that step, so I have finally gotten around to (hopefully) making it less confusing! 

I updated the wording to make it clear the FRONT piece is now a combo of the FRONT and the BACKGROUND, which have been sewn together to create one flat donut. Here's a screen capture of the updated step in case you are curious or wish to make a note on your copy of the pattern:


Note: the pattern has not changed, just some additional wording to step 28.

Tuesday, September 5, 2023

back to school means mmmaking!


Back to school means back to cozy fall crafting! Looking for a project? May I suggest my Twelve Days Ornaments? (Shown here in cheerful Benzie Design wool felts and DMC flosses, but choose any colors you like!)

A set of these heirloom wool felt ornaments made by your own clever hands will be such a joy to bring out each year at Christmas. And they are easier to make than they look because of the magic of Sulky Stick n Stitch!

Find the patterns in my Etsy shop:
mmmcrafts.etsy.com

Saturday, March 4, 2023

repurpose your patterns for Easter!


Introducing my new Easter patterns... Just kidding! You guys said to remind you when you can repurpose the existing Christmas patterns for other holidays, so here's your reminder for Easter!
 
French Hen and Goose a-Laying are both especially appropriate for Easter, but if you choose springtime colors really any of the bird patterns work well IMO. Even Snow Bird works! But especially if you replace the stitched snowflakes on the wings with flowers! (Embroider a simple one with Lazy Daisy stitches or maybe steal the felt flowers from the hen or swan wings?)

Get the patterns here: mmmcrafts.etsy.com

PS I'm working hard on Lodestar. I'll update on that as soon as I can.

Tuesday, February 14, 2023

i heart you


happy heart day!
may there be chocolate

Shown: True Love Heart ornament from my Lord a-Leaping pattern made with Benzie Design wool-blend felts, Sulky Stick n Stitch, DMC embroidery flosses. Pattern: mmmcrafts.etsy.com

Saturday, December 31, 2022

happy 2023!


Happy new year! I'm ringing in 2023 with my first case of covid! It finally got me. I've been exposed so many times over the last two years I was starting to wonder if I had some kind of weird super-immunity. NOPE. 🥵 Blurg. But this must mean the new year can only get better from here! Right? Yay! Let's toast to all the possibilities! *hoists mug, slurps herbal tea loudly*

Image above: The top nine most-liked posts from my Instagram account for 2022. I was going to write a detailed, reflective review of the past year with nicely articulated thoughts but NOPE I will go downstairs and take more cough medicine.

#mmmcrafts #topnine #happy2023 #stupidvirus #ebenezerornamentseries #twasthenightornaments #twelvedaysornaments

Thursday, October 27, 2022

what's your favorite color?


One of the best things about making your own wool felt ornaments? Choosing your very favorite colors. Apparently, I like pink. What's your favorite color?

Now's the perfect time for cozy handmade Christmas gift making, and heirloom ornaments are always treasured! I offer hand sewn step-by-step PDF patterns for confident beginners as well as intermediate challenge seekers. 

Have a look round my blog for lots of ornament info:
https://mmmcrafts.blogspot.com/p/ornament-series.html
and my Etsy shop to purchase the patterns:
https://www.etsy.com/shop/mmmcrafts
Happy to answer questions! Contact me via my shop for a speedy answer.

Maybe choosing your own colors is not your thing? No worries, I also have curated color guides on my blog with materials kits available from Benzie Design and Felt On the Fly.

Pictured above: Hand embroidered wool felt ornaments made from my patterns: Twelve Days Ornament Series, 'Twas the Night Ornament Series, Ebenezer Ornament Series, and also Snow Bird.

Wednesday, December 29, 2021

Last Minute Holland comes in under the wire

On Christmas Eve as I sat feverishly stitching two Twelve Days ornaments for dear loved ones, I once again reflected on my time management skills. I feel like I'm busy ALL the ever lovin' time. Perhaps I actually am? Probably not as busy as I think. Surely I can do a better job at this. Heck, I still don't even have my own personal set of any of my ornaments. I have a lot of MmmCrafts samples of course, but those I need to keep in my office for photos/promos. My two girls do not have their own sets either. I do manage most years to make a special one-off ornament for them, but not always. Not this year. Argh.

Next year is my year for sure. 

So this Partridge and French Hen were completed by 1 AM Christmas morning and checked off my list. They were received on Christmas afternoon with joy, and that is the best feeling!

It was nice to revisit these two patterns. If you are curious, yes, I follow my own pattern instructions. LOL. I have so many patterns now it's easy to forget the best way to put them together. It's essential to have a cheat sheet. 

Friday, October 1, 2021

an update to the Sulky post!


Hey guys! I've updated my previous post regarding the recent issues with Sulky stabilizer. Please read the update here! :-)

Wednesday, September 29, 2021

alert: your Sulky stabilizer may be faulty (read the update!)


IMPORTANT UPDATE TO THE BELOW: I've just spoken again with Patti Lee and she says the glue problem seems to be isolated to bogus Amazon vendors selling counterfeit product rather than coming from Sulky's own glue manufacturer (and so far the bogus product seems to only be using the Stick'n Stitch branding but that could change). Sulky is reporting the bogus vendors to Amazon and hopefully getting them eliminated from the marketplace. 

Because this will be an ongoing problem, and because the faulty stabilizer isn't coming from them, Sulky cannot offer to replace your counterfeit product for free if it's purchased from Amazon. Understandably! You should pursue getting a refund of your purchase price via Amazon. They will refund your money even if the vendor is no longer there. 

However, please continue to contact Patti Lee (info@sulky.com) if you get scammed on Amazon - this will help them shut the crooks down and also she will offer you a generous coupon code to purchase the real stuff from Sulky.com.

I'll post updates as I receive them, but her recommendation for now is to only purchase from reputable resellers and if you purchase directly from Sulky.com you can be confident that you are receiving the legitimate product. Just like always, I can personally recommend these resellers:
Benzie Design, both on Etsy and also their own benziedesign.com
And, as always, I think you can rely on large hobby/craft websites to have the legitimate product, like Jo-ann or Michaels or other reputable large sewing retailers or vendors you have purchased the real stuff from in the past. 

I understand from Patti that the Amazon counterfeit packaging is done very well so that the average person would not be able to tell just by looking at the outer packaging that's it's fake. However, you can sometimes tell just by looking at the sheets themselves. From Patti: "One thing that might help folks is that it is fairly easy to identify the fake goods by the release paper. The release paper on our product is a fairly slick, off white in color, silicone paper - while the fake goods have a very dull, white paper that would more closely resemble copier paper than silicone."

Tips for water testing and tips for fixing a sticky project are below in the edited original post:

+++++++++++++++++++

Hey guys! I need to alert my customers to a potential problem with Sulky Stick N Stitch (also marketed as Sticky Fabri-Solvy): There appears to be Amazon vendors selling counterfeit product with the wrong adhesive applied, according to Patti Lee at Sulky America. (See update about the counterfeit product above!)

1) THE PROBLEM:
The product with the wrong adhesive will not rinse away as normal — instead it turns clear and gummy and refuses to budge no matter how long it’s soaked in water. This bad product seems to be coming from crooked Amazon vendors.

2) AFTER STITCHING IF YOU DISCOVER YOU HAVE THE BAD STUFF:
Patti says to try this: Apply a coat of Dawn* dishwashing liquid soap (for hand washing dishes) to your wet flat (sticky) pieces and let it sit for 2 hours. Then gently rinse away using cold water and air dry. If you find it’s still sticky, repeat that process.
*If you are outside the US use any good quality liquid soap used to hand wash dishes

3) BEFORE YOU STITCH: TEST EACH SHEET OF SULKY STABILIZER BEFORE USING ON YOUR PROJECT!
It's a good idea to test each sheet. Luckily, the test is easy. Go ahead and print the pattern on the sheet JIC. Before using it, cut off an unprinted corner and adhere it to a scrap of fabric. Submerge the fabric in water for a few minutes and see how it does. If the stabilizer turns clear and gummy, do not use that sheet!! If it turns white, stringy, and lifts away, it’s the good stuff and you can go ahead.

4) CONTACT PATTI IF YOU HAVE THE BAD STUFF!
Patti Lee and Sulky would love to know if you have a bad batch from Amazon. Do not hesitate to get in touch with her if you have a problem, because it will help them to pinpoint the counterfeit Amazon vendors. She will also offer you a generous coupon code to purchase the real stuff from them:
Patti Lee at Sulky
(800) 874-4115, extension 173
Or email info@sulky.com with Attn: Patti Lee in subject

(If you are outside the US you might need to visit Sulky.com to get the correct phone number)
Refund: If you purchased on Amazon, you'll need to pursue a refund of your money via Amazon.

This stabilizer is such an integral part of making my ornament series, and in its legitimate form is 100% awesome, so I wanted to get the word out so you can avoid frustration. I truly love the product, so I hope you give it a second chance if you have this issue!

Tuesday, April 20, 2021

helpful tips for nicely done ornament heads – you can do this – no really


Let's put our heads together! haha. Do you find that you are intimidated by the idea of making the tiny wood bead heads for some of my heirloom ornaments? This is the post for you. I'm going to break this process down to hopefully digestible little bites, and you will realize this is not a big deal at all. No lie. You can do it. *high fives* *down low* (whips hands away) *too slow!* 
OK, here we go:


FIRST: BUY THE RIGHT BEADS

My patterns usually call for 20 mm (3/4 inch) wood beads. It's important to get the correct size so that the heads look in proportion to the bodies, and so that the tiny hats/hair/noses/mustaches etc... all end up fitting the way they are designed to. 


There are tiny variances in sizes even if they are labeled 20 mm or 3/4 inch, but you don't want to stray too far in either direction. To test for yourself, cut a skinny strip of paper and mark 20 mm or .75 inch on it using a ruler and a fine point pen. Then feed the strip of paper through the bead hole and check. The bead should be fairly close to your measurement.


When buying, look for:

  • hardwood beads that have a nice, uniform, woody color and subtle graining
  • consistent size and roundness
  • drilled holes that are around 4 mm
Avoid purchasing beads that:

  • are very light colored, as they seem to be softer/more prone to bleeding, wonkier shaped, and there's not much contrast if your head will have white hair
  • have holes that are too large or too small (around 4 mm is good)
  • are not consistently round and look tall or squatty


Are you planning to add a different skin tone to your beads? 
I recommend painting the whole bead ahead of time (plus the smaller beads for hands if needed) with a good quality watercolor paint and a large-ish brush. Using semi-transparent mediums like watercolor will keep the nice, matte finish of the wood bead, and the color will have some depth.

In the photo above^ the top and righthand beads are painted with washes of watercolor. The bottom left is unpainted. If you find it hard to get uniform color using watercolor, try adding more than one coat of diluted color and using a larger brush.

Of course, you can also use acrylic paint if you prefer that, but be aware that it will add a slight sheen and the color will be more opaque/flat. I do love to use acrylic paint to fill in white hair, as shown on the Mrs Santa head in the photo above.

Confession: I could not find my good watercolor set to make these (I suspect the children). All I could find was the ancient, cheap tray of Crayola watercolors we picked up from Target when they were small. It took some mixing and experimentation to get the colors I wanted, but I'm just saying it's possible if that is all you have handy. The super cool thing is, I have noticed the watercolor wash seems to partially seal the wood so that it is way less prone to bleeding and it's easier to add the faces. Bonus! Note: It's important to let the bead dry completely before adding the features.


SECOND: HAVE THE RIGHT TOOLS


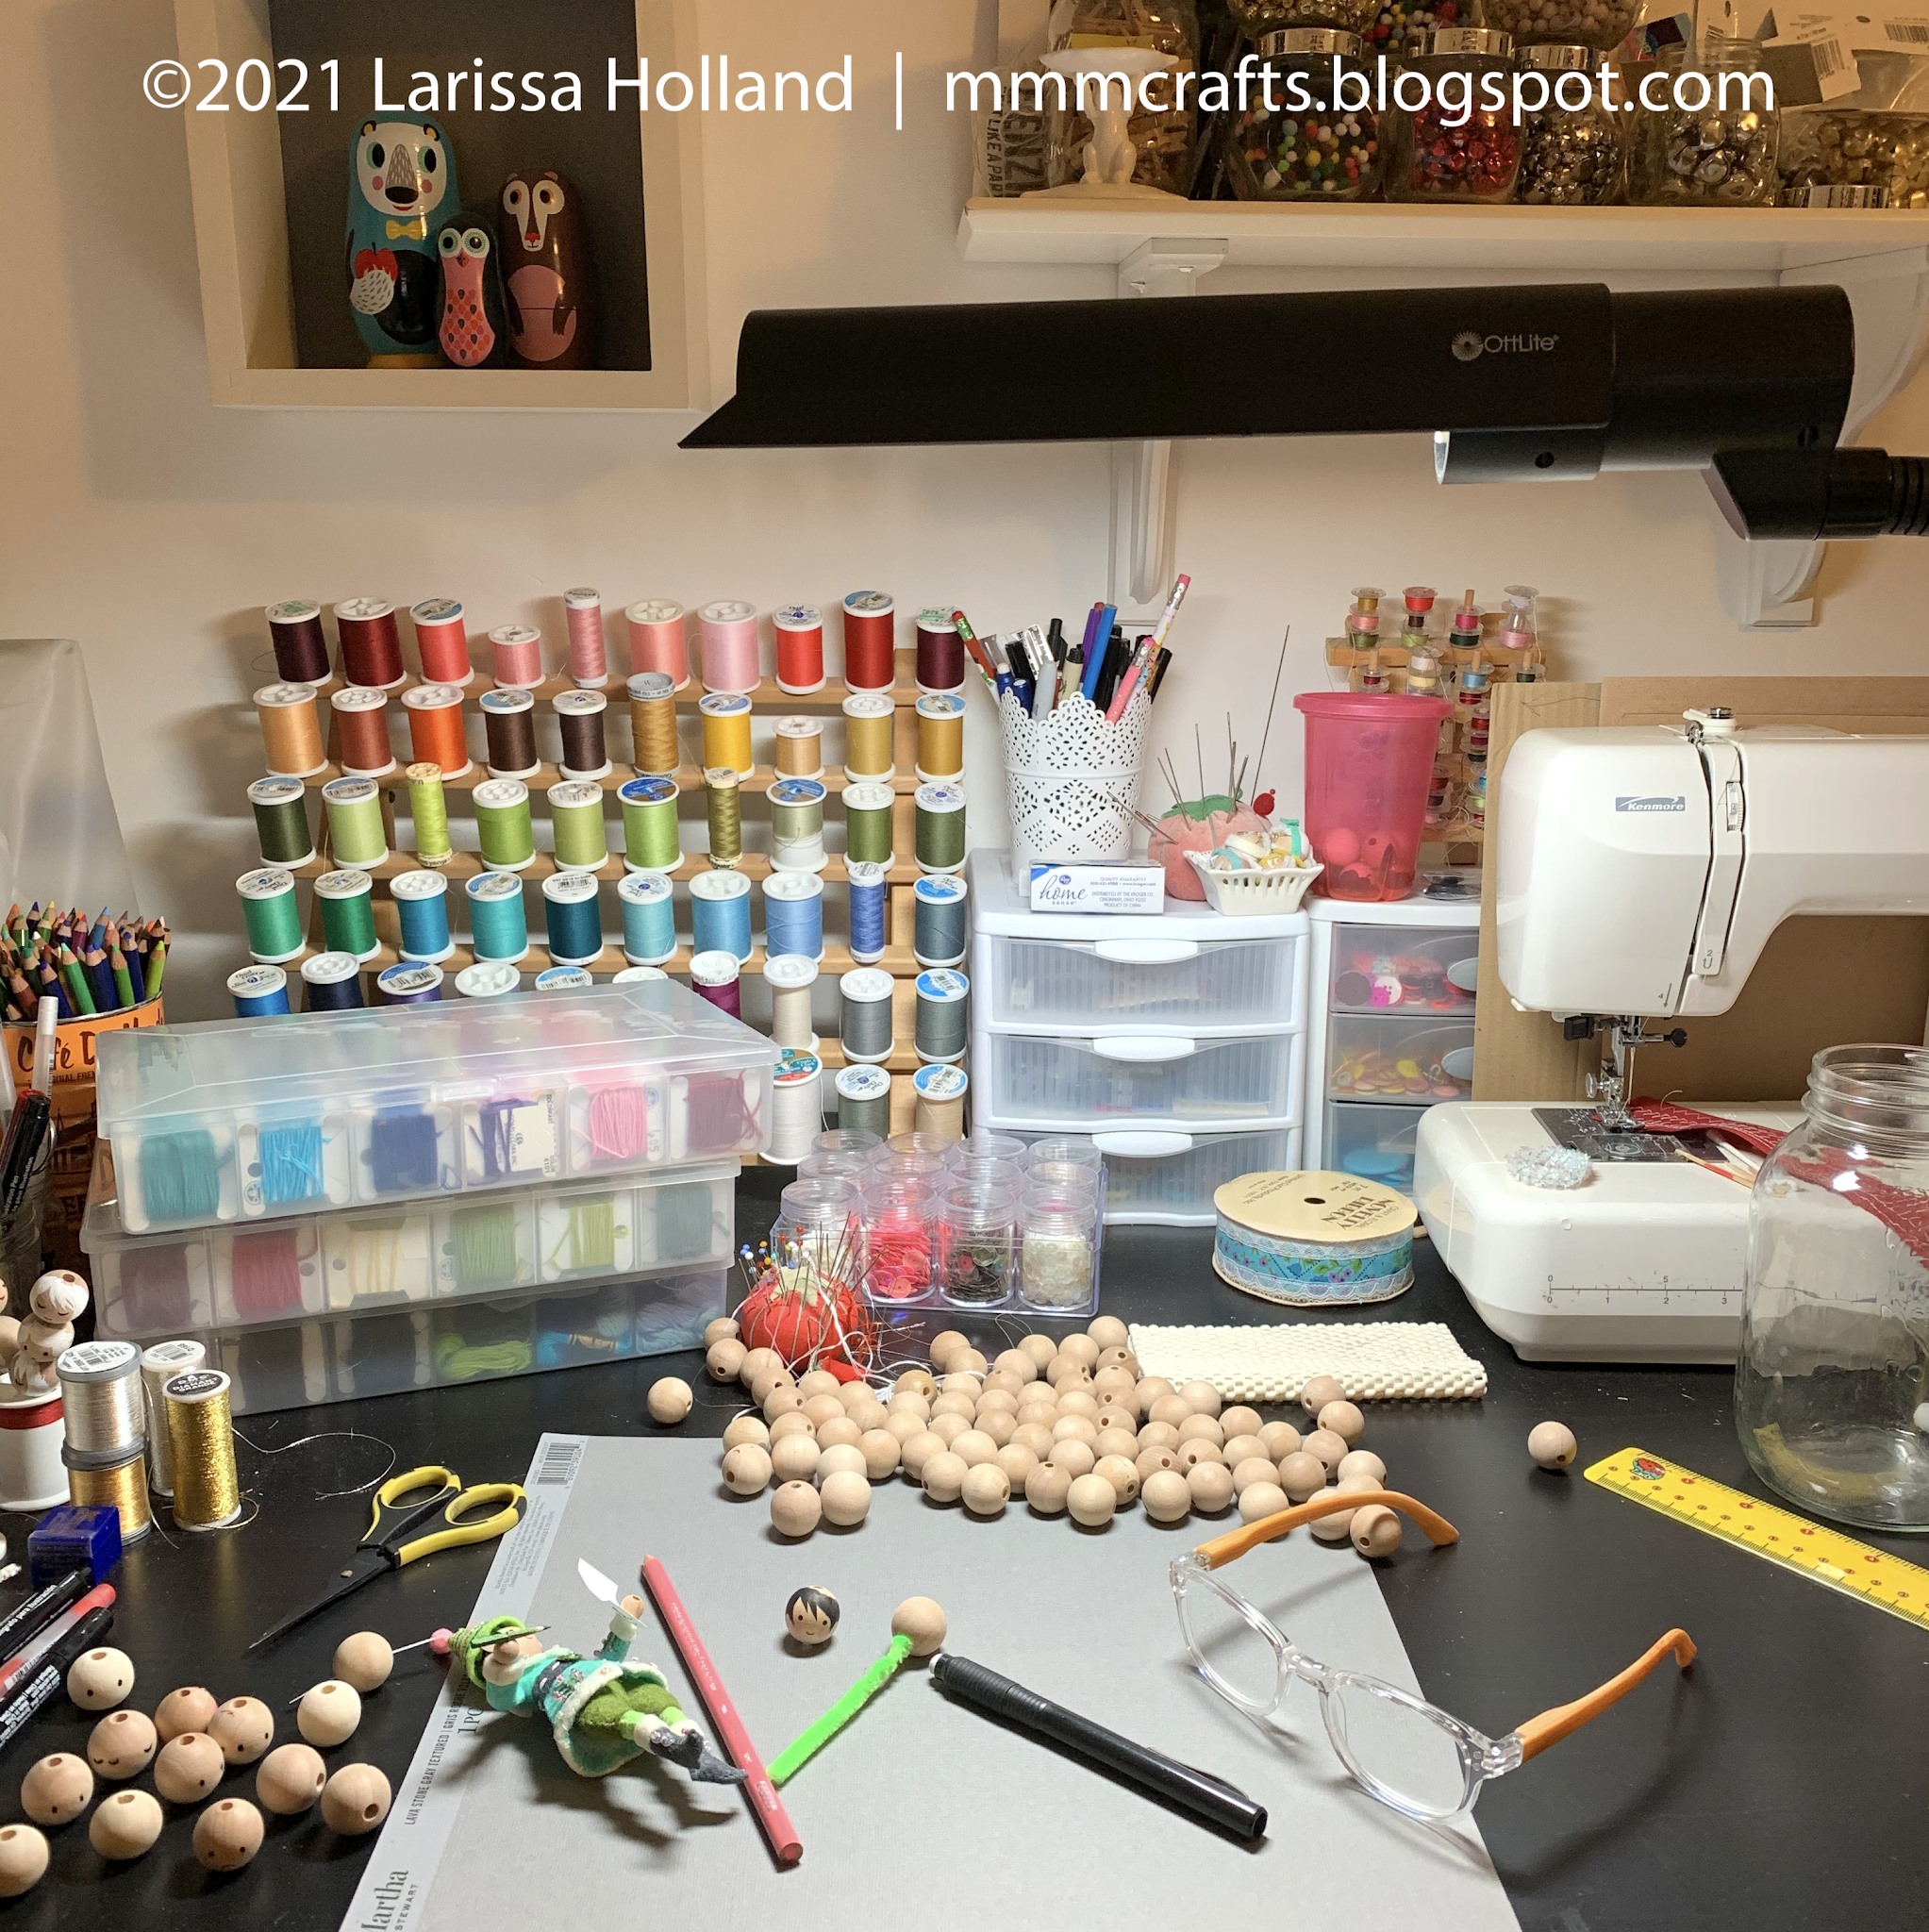
1) Good lighting and reading glasses: OK, some of you young thangs with sharp eyes may not need the glasses, but they are a must for me at this small scale. I have an OttLite directly over my work space and also a nice big window near my desk. This shot of my desk is at night, so you can see the OttLite still gives plenty of light, even without the window.


2) Pencil: One with a nice, fine point. Mechanical pencils have a consistently sharp tip.


3) A good eraser: I like white eraser pens rather than the old school pink eraser on the end of the pencil, which can leave marks/smears. These click-up type eraser pens do an excellent job of getting rid of stray pencil marks (after your head is dry) without leaving residue or smears.


4) Fine point pens: My instructions call for you to use either a good quality gel pen or a fine point permanent fabric marker to draw on the eyes, mouths, and hair outline. It's tempting to use that Sharpie marker or your kid's felt marker because they are at hand, but don't do it! Why? Because unfinished wood beads tend to bleed inks along the wood grain, and fabric markers and gel pens are great at minimizing this unattractive effect.

(I've also heard some folks get good results from Sakura Micron fine tip pens, so you are welcome to try that too! If you have extra beads on hand you can afford to test some different pens, but be sure they don't bleed and have permanent ink.)

Please note: If the unfinished wood makes you nervous or if you just can't seem to minimize the bleeding there are other options:
  • Don't use markers/pens. It's perfectly fine to use colored pencils to draw on the face. It's a softer look but more forgiving than the pens if you do not have a steady hand.
  • Or you can opt to seal the entire bead with a clear coating like matte Mod Podge before adding the face/hair. I don't prefer this because even the matte coating can be a bit shinier than I like, but it's a surefire way to avoid bleeding. If you do this, don't use a gel or fabric pen – use a permanent marker like a Micron or a Sharpie. 
  • Or you can opt for a Waldorf look by simply leaving the faces entirely blank, or with only some rosy cheeks and hair. I've seen lovely sets done this way.


5) Broad tip fabric marker: In some cases, it's helpful to have a broad tip fabric marker to fill in the hair after you get the outline done with the fine point pen. It's just quicker than coloring with the fine tip. On heads with white hair, you can use an opaque white paint pen to fill in, or brush on white acrylic paint.


6) Good quality colored pencils and a Q-Tip to blend: to add details like rosy cheeks, red noses, and ghostly hollowed cheeks. I remember I had a rolled paper blending pencil shaped thingy a hundred years ago from my college charcoal drawing classes that would probably work great for the cheek blending instead of using a Q-Tip, but I can't find it in my stuff. (Yes, I do still have my art supplies from college, don't you?) But Q-Tips do the job and everyone has 'em.


7) Tacky Glue and a toothpick: On some heads you need to glue on tiny noses, ears or mustaches. Tacky Glue does the job nicely because you need to use so little to make a bond. The toothpick comes in handy to place teeny tiny amounts of glue just where you need it.


8) Folded chenille stem, pipe cleaner, or skinny dowel: Use these to hold the bead more easily while you work with it, and when you're finished you can just prop the stem in a thread spool or handy cup to let the head dry.


9) Extra beads: Understand that you may need a few extra beads if something goes awry. What you don't need is the added pressure of nailing this in one try. (Shall I show you my impressive reject pile of heads?) If you don't like your first face, most times you can attempt another face on the opposite side of the bead, provided the first face will be covered by hair or a hat.

10) And finally, CONFIDENCE. Have a close look at some of my photos in this post. You'll notice my faces are, in fact, not perfect. They are a bit flawed, but hopefully still charming. (Kind of like me.) In short, you got this. Tackle this part of the ornament project in the same methodical way you do the embroidery and sewing portions – it's no different. Just follow the step by step instructions and you can have a winsome little face you are delighted with. Really.


THIRD: LET'S MAKE A SAMPLE HEAD

I'm going to show you how to do a basic face here, but please follow the specific instructions included in my patterns for your ornament. There are variations with each pattern.

1) Look at your bead. Is there a larger hole on one end? That's the neck. (If the holes are the same size, no worries, use either.) Skewer the bead on a folded chenille stem. Like my fuzzy green one? It's been around. 

 
Just a note here: I've noticed some of the wood beads I've bought lately have holes that are on the small side (less than 4 mm). If you do too, just keep that in mind when you cut your felt body out and maybe trim a tiny bit off the width of your neck to accomodate. You can also trim the fuzz on the pipe cleaner neckbone to reduce bulk and make it easier to slide on the head later. What if you've already sewn the neck? If the fit is too snug, my favorite trick is to wrap the neck tightly with matching sewing thread. It really helps to get it in the bead hole when it's a bit too tight. Remember to twist the head on and not shove.

2) Turn the bead so the stripey end grain will be the face. (This side tends to bleed less, unless your bead is painted, in which case you can use any side you like.) If there are obvious flaws or burn marks on the bead, you'll want to turn that toward the back or choose a different bead. Find the halfway point and mark it lightly with a pencil if you need to. Folks tend to place the eyes too high, and that will help. The eyes should go at the halfway point, where the bead is the widest.


3) With your pencil, lightly mark two eyes and a mouth. As a general rule, my eye dots are about 3/8 inch (9 mm) apart from center to center, with some small variations. Place the mouth about halfway between the eyes and the neck, centered between the eyes. Err on the small side for the mouth. It's cuter. The eyes and mouth will visually form a squatty triangle. (If you like a more kawaii look for your faces, place the mouth a little higher and closer to the eyes, but keep it just as small or smaller. It will increase the cute factor, and conversely, placing the mouth lower will decrease the cute factor.

Not quite happy with your sketched face? Simply erase and make adjustments. Do this before you move on.


4) Now to dot your eyes. haha. Use a permanent fabric marker or gel pen to color two dots for eyes over your pencil marks. The larger the dots, the cuter the look. I keep the dots about 2 mm, give or take. Experiment to find the size you like. Remember: you can always make them larger but you can't make them smaller, so be conservative.


5) Use a permanent fabric marker or gel pen to draw on the mouth over your pencil mark. A fine point is essential here – it's very easy to make the mouth too large for the scale of the face. Think thin and small.  You can always dot on more if it's too small. Don't worry if you don't completely cover your pencil mark. You'll erase it later. DON'T erase until you are sure your head is dry.


6) Your pattern may call for adding rosy cheeks (or ghostly cheeks). Do not add cheeks until your face is dry. Here's how: Grab a good quality colored pencil. (No crayons or markers please.) Using a circular motion, lightly color a circle just under each eye and close to the mouth. Smaller circles = more kawaii. Larger circles = more vintage. Use a Q-tip or a folded cotton pipe cleaner in a circular motion to soften the edges of the circle, if you like. You can go back in and darken the center of the circle if you want a deeper color.


7) Add some hair. Sketch in the outline lightly first with pencil, then follow with a fine point fabric marker or gel pen to outline. Then fill in with either the fine point pen or the broad tip marker or paint pen you have handy. 

Note: The hairstyle can be as simple or fancy as you like. Start simple, and get fancy later when you gain some confidence. This sample hair above^ is more on the complex side. It's for Little Elves. Here's a simpler style for Mrs Claus: 


Really, the key to the hair is getting it fairly close to the eyes, so that the face of the bead looks smallish, cute, and surrounded by hair, and does not look like it's a tiny face island in the middle of a big blank wood ocean. Check my pattern directions for how much of the sides and back of the head you are supposed to color. It could be just a partial since a lot of them are wearing hats.


8) When your face/hair are totally completely and utterly dry, you can safely erase any stray pencil marks. Be aware the eraser will also unfortunately erase your rosy cheeks, so you may need to touch those up. Finished! Tada!


Still nervous? You can always simplify the faces if they seem too complex. For instance, the two Mrs. Santa heads on a pike above. The top one is a more complex one with fancier hair, and the bottom one is a simpler version with just dots. I think both faces are so cute! So you won't lose any style points for going simple. As a bonus, the dotted faces evoke a more vintage look, which I always love. 

So that is how it's done, lovely mmmakers. You have faced your fears. *wink* After following this tutorial you'll be ahead of the game. haha. OK sorry, I'm finally out of puns. There are a lot of variations in the faces and hair between my designs, but each of the patterns includes detailed step-by-step instructions for the faces. Use the tips you learned here to help you along. 

I hope this tutorial has been helpful! Happy mmmaking! 

Wednesday, December 30, 2020

sewing up 2020


Sewing: A couple of Twelve Days ornaments for some special people. Do y’all flip them over backwards to check the color as you go, too? (Pardon my messy reverse sides. I’m not one of those talented embroiderers who can keep the back looking as great as the front. And that’s OK.) 

Watching: Freelancers. So funny. Actually snort-laughed several times. All part of my charm. 
#mmmcrafts #sewingup2020 #benziefelt #happybetteryear

Saturday, October 24, 2020

May I suggest a handmade ornament?


(Shown: my Twelve Days ornaments sewn with the curated Felt On The Fly 100% merino wool Jewel colorway. Buy the lovely complete felt kit in her shop, pattern not included.)

I find hand sewing to be so therapeutic, and handmade ornaments make truly special gifts that will be treasured and brought out every Christmas. A confident beginner can tackle my #twelvedaysornaments if they start with pattern No. 1 and go in order. The patterns increase in difficulty as you work your way up to No. 12, so that you build your skills!

Can you:
1) Cut small pieces with precision?
2) Sew basic hand stitches like whipstitch, backstitch, and French knot?
3) Print stuff?
4) Glue stuff?
5) Enjoy coffee?*
*Optional but recommended

If you answered yes to these questions, you can make these ornaments and make them well. It’s all about the Sulky stabilizer called Stick 'n Stitch. Print my pattern on the stabilizer, adhere it to the lovely wool felt, and stitch on the lines. NO tracing or transferring embroidery designs. Fantastic. My patterns are super detailed with step-by-step instructions and tons of illustrations. This page is chock full of information and tips for you if you are interested. Happy sewing to you!
 
PDF patterns are in my Etsy shop, mmmcrafts.etsy.com
Jewel colorway at Felt On The Fly, etsy.com/shop/FeltOnTheFly

Thursday, October 15, 2020

the skinny on metallic thread and flosses

I specify several different kinds of metallic thread/flosses in my Christmas ornament patterns. Because of their shiny wrapping, metallic threads can be more of a challenge to work with, but they are so worth it. This post will show you why I use so many different kinds and what they do best! 

1) For embroidery only (not to attach beads/sequins): 
DMC DIAMANT and DIAMANT GRANDE 


This lovely metallic embroidery thread was a recent discovery for me. I had been using the six-strand DMC Light Effects for embroidery and stripping it like I do the DMC six-strand cotton flosses, which was a bit difficult/frustrating. I much prefer the Diamant because:

  • It's a single twisted strand (no stripping required)
  • Easier to thread in your embroidery needle
  • Doesn't bunch or tangle as much  

I use it in place of six-strand floss for any metallic decorative embroidery.*  To sub Diamant for the six-strand cotton flosses in my instructions, ignore the number of strands I have specified. Substitute a double strand of Diamant or a single strand of Diamant Grande. That formula should work well most of the time. If you want an especially thick looking metallic embroidery, try a double strand of the Diamant Grande.

*Don't make the common mistake of using Diamant to sew on beads/sequins. It is too thick and will make you crazy and/or miserable. Use metallic sewing thread for that, like Coats & Clark. See further down the post.

Copper Diamant thread in action on a Mr. Marley ornament

Where to get it: DMC.com of course, and Benzie Design is planning to include it as an option in their kits. I have also seen it stocked at some local sewing/craft big box stores, but not all. 


2) For tassels (and in a pinch, for embroidery): 
DMC LIGHT EFFECTS

Light Effects is the metallic/shiny polyester equivalent to DMC's six-strand cotton flosses. I have found them a bit challenging to embroider with, but they are certainly lovely looking. If you do use them for embroidery, try using shorter lengths, like twelve inches or less. Once cut, the strands spring apart, which makes it challenging to thread several strands at once. I ended up just threading them in stages.

I use it to make tiny metallic tassels, like the ones on Mr. Scrooge's night cap or Mr. Marley's boots. When doubled, it's the perfect tassel thickness and so pretty and shiny. I do not use it for embroidery now that I have Diamant, but you certainly can! Just strip the same number of strands specified in my instructions, use short lengths, and take your time.

The tassels and metallic embroidery shown above are Light Effects

Where to get it: I have no problem finding a range of these flosses at my local sewing/craft stores. DMC.com also, of course, and Benzie Design includes Light Effects in their kits.


3) For attaching beads/sequins: 
COATS & CLARK METALLIC SEWING THREAD

I'm not married to this particular brand of metallic thread, it's just the one that is readily available at my local sewing/craft store and is the only one I've used so far. You can find it in the display of sewing thread spools. Any brand of metallic sewing thread should be fine, and this Sulky one looks nice too. Maybe I should try it.

I use it to sew on beads and sequins. It's very easy to thread because the strand is so slender, and has the advantage of adding a tiny bit of sparkle (more sparkle = better). There's no need to worry about matching the color of the thread to your beads and sequins, which is especially nice when you are using a lot of different colors. It can be more temperamental to work with than non-metallic sewing threads. A good bit more snarly and twisty, so use short lengths.

The sequins and beads on this Mrs. Claus are sewn on with silver sewing thread.

Where to get it: I have no problem finding a range of these at my local sewing/craft stores in the sewing thread display, or online at major sewing stores. 


3) For hanging loops: 
DMC METALLIC PEARL COTTON

Pardon this untidy shot of my metallic pearl spaghetti instead of the neat twisted skeins they were when purchased. #studiolife. You might be saying, what can she possibly need yet another metallic floss for? Well, I'll tell ya:

I use it to make the hanging loops for all my ornaments. This nicely twisted pearl floss just makes a better looking loop. It's also much easier to knot around itself because it doesn't disintegrate into unmanageable separate strands like Light Effects does. Which also makes it easier to thread through jump rings, if you prefer to use those.

The hanging loops on most all of my ornaments are made with Metallic Pearl Cotton

Where to get it: I have no problem finding both silver and gold pearl floss at my local sewing/craft stores or online at major sewing stores. Benzie also includes this in their kits! 

And that's the lowdown on the metallic threads I use. I hope this was helpful!